Sign Up & Get Comfortable with the LoovaCast Dashboard
First things first – head over to LoovaCast and click the “Sign Up” button. Fill in your name, email, and a strong password, then confirm the verification link that lands in your inbox. Within minutes you’ll have a brand‑new account ready for your online radio setup.
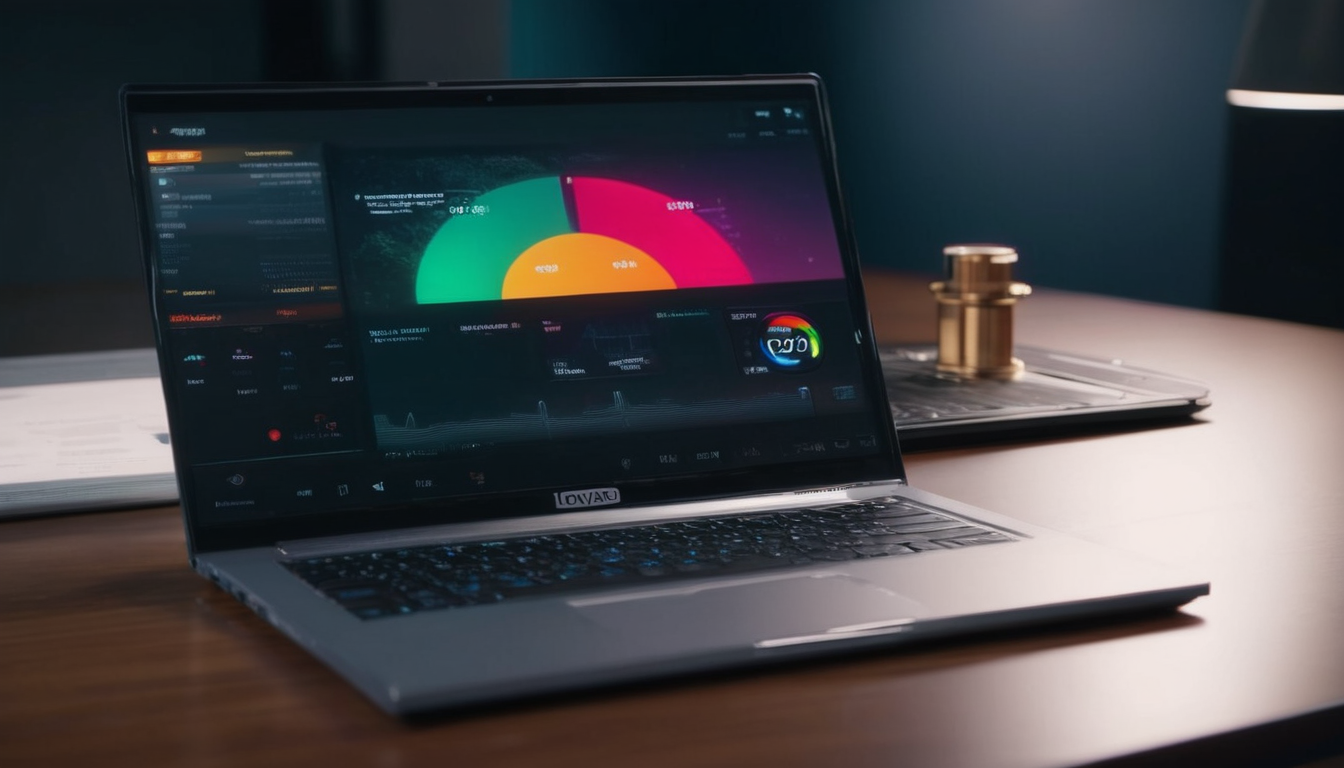
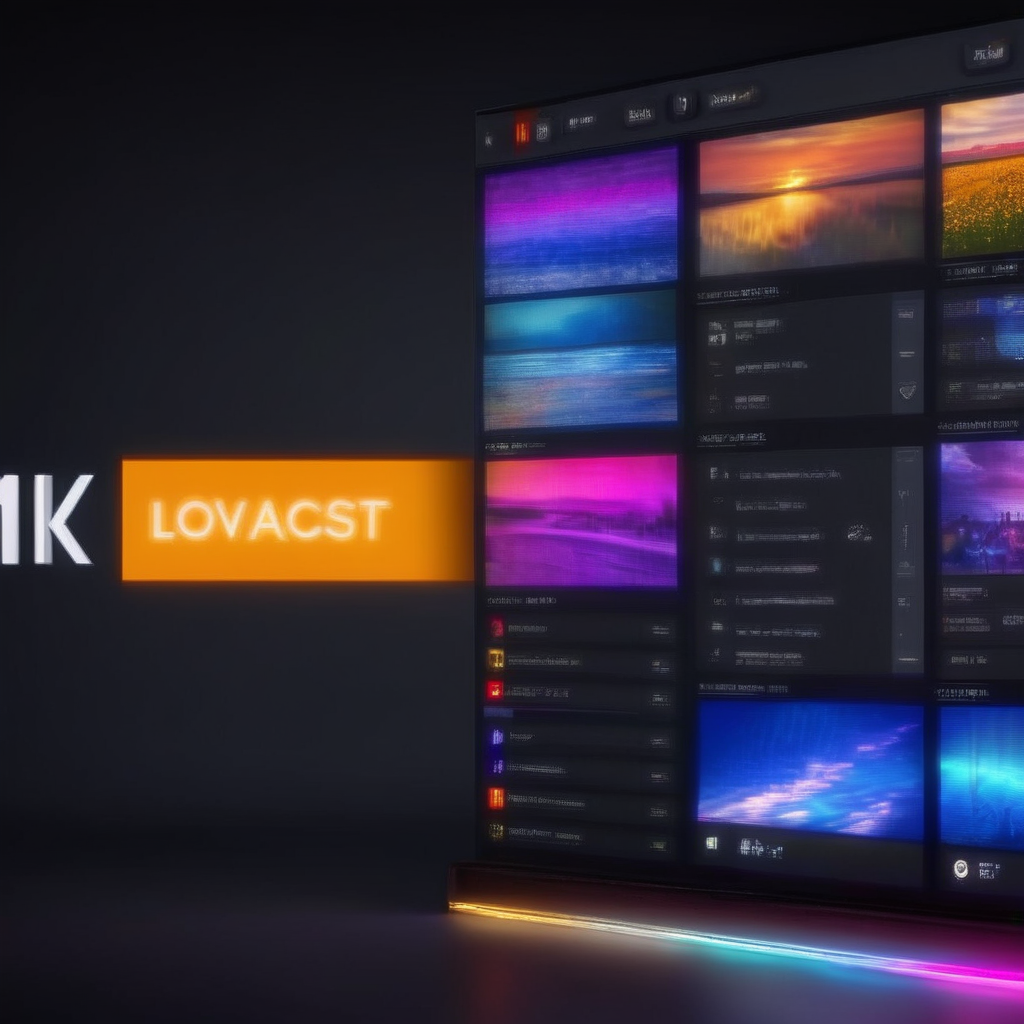
When you log in, the dashboard greets you with three main tabs: Stations, Listeners, and Analytics. The Stations tab is where you’ll create and manage each broadcast, while Listeners shows real‑time audience numbers and Analytics breaks down performance by hour, day, and geography. Spend a few minutes clicking through each area so the layout becomes second nature.
LoovaCast also ships a quick‑start wizard that walks you through the essential steps of launching a station. The wizard asks for a station name, a logo, and a preferred stream URL, then automatically generates your first RTMP credentials. Think of it as a friendly co‑host nudging you forward – you can always skip or revisit any step later.
By the end of this section you’ll have a verified account, a clear view of the dashboard, and a solid grasp of where every key button lives. That foundation is the launchpad for a smooth online radio setup and a hassle‑free first broadcast.
Set Up Your Station Info & Branding
Now that you’re inside the dashboard, click the “Create Station” button and start filling out the basics. Enter a catchy station name, a brief description that tells listeners what they’ll hear, and select genre tags that match your musical style – this helps discoverability on directories.
Next, upload a high‑resolution logo (ideally 500 × 500 px) and choose a custom stream URL that reflects your brand, such as yourname.loovacast.com. A memorable URL makes it easier for fans to tune in and share with friends, turning casual clicks into regular listeners.
Don’t forget the broadcast language, your city or region, and a contact email. These details appear on the public station page and are required for compliance with streaming licenses. A well‑filled profile builds trust and signals professionalism to both listeners and potential sponsors.
- Catchy station name
- Professional logo
- Compelling description
- Custom stream URL
Share your answer in the comments!
Take a moment to preview how your station page looks on both desktop and mobile. Adjust the logo placement or tweak the description until it feels just right. When you’re satisfied, hit “Save” and you’ll see your station appear in the public directory – a crucial milestone in any online radio setup.
Build Your Playlist & Enable Radio Automation
With branding locked down, it’s time to populate your library. Drag and drop MP3 or AAC files directly into the LoovaCast library, or connect a cloud storage account like Google Drive to import entire folders in seconds. The platform supports bulk uploads, so you can load a full album or a week’s worth of tracks without breaking a sweat.
Once your tracks are inside, create a new playlist by clicking “Add Playlist” and give it a name that reflects the show’s vibe – for example “Morning Chill” or “Late‑Night Beats”. Use the drag‑and‑drop editor to order songs, set fade‑in/out times, and insert short station IDs or ads between tracks.
Automation is the secret sauce that keeps your station alive 24/7. Enable the built‑in automation engine, set a rotation rule (e.g., “Play new releases first, then classics”), and schedule the playlist to run at specific times. LoovaCast will automatically shuffle, apply crossfades, and even insert pre‑recorded voiceovers so you never have dead air.
By the end of this step you’ll have a polished playlist, an automation schedule, and a reliable content pipeline – all essential pieces of a robust online radio setup. Your station will now broadcast music even when you’re away from the mic.
Choose a Broadcast Encoder (Free & Paid Options)
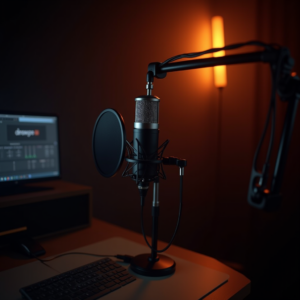
The encoder is the bridge that turns your audio into a stream that LoovaCast can distribute. Think of it as the engine that powers your online radio setup. If you’re just starting, free tools like OBS Studio (set to “Audio Only” mode) or the simple Broadcast Using This Tool (BUTT) are more than enough.
OBS Studio gives you visual flexibility – you can add a static image, a looping video, or even a live webcam feed while the audio runs in the background. To configure, open Settings → Stream, select “Custom” as the service, then paste your RTMP URL and stream key. BUTT, on the other hand, is ultra‑lightweight and focuses solely on audio, making it ideal for low‑latency, high‑quality MP3 streams.
If you need advanced features such as auto‑DJ, built‑in scheduling, or multi‑track mixing, consider paid options like Nicecast (Mac only), SAM Broadcaster, or RadioDJ. These programs offer sophisticated playout engines, built‑in effects, and seamless integration with external hardware mixers – perfect for seasoned DJs who want more control.
Whichever encoder you choose, make sure it supports MP3 or AAC at 128 kbps or higher. That bitrate strikes a good balance between sound quality and bandwidth consumption, ensuring a smooth listening experience for your audience.
Link Encoder to LoovaCast & Run a Test Stream
Now that you have an encoder ready, head back to the LoovaCast console and locate your station’s “Broadcast Settings”. Here you’ll find a unique RTMP URL and a Stream Key – copy both values to your clipboard. These credentials are what tell LoovaCast where to receive your audio feed.
Open your chosen encoder (OBS, BUTT, etc.) and navigate to the streaming configuration panel. Paste the RTMP URL into the “Server” field and the Stream Key into the “Key” field. Set the audio codec to MP3, choose a bitrate of 128 kbps, and select a sample rate of 44.1 kHz for optimal compatibility.
Before you go live for real, hit the “Start Streaming” button in the encoder and immediately click “Listen Live” on your LoovaCast dashboard. You should hear your test audio within a few seconds. Verify that the volume is balanced, there is no distortion, and the stream plays smoothly on both desktop and mobile browsers.
- ☑ Copy RTMP URL and Stream Key from LoovaCast.
- ☑ Paste credentials into encoder settings.
- ☑ Set bitrate to 128 kbps MP3.
- ☑ Start encoder and test with “Listen Live”.
- ☐ Adjust volume levels if needed.
Once the test passes, you’ve completed the technical half of your online radio setup. The next step is to bring your personality to the mic and start engaging real listeners.

Go Live: Real‑Time Tips for Your First Broadcast
Before you hit the “Go Live” button, perform a quick mic check. Speak a few words at normal volume and watch the level meters in your encoder – aim for peaks around -12 dB to avoid clipping. If you have a pop filter, make sure it’s in place to reduce plosives.
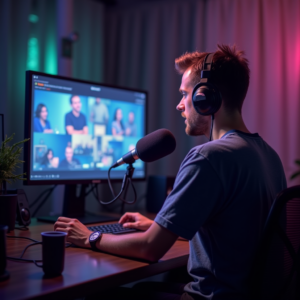
When you’re ready, start the encoder, then click the “Go Live” toggle on the LoovaCast dashboard. As soon as the stream is active, greet your audience with a short, enthusiastic intro: state the station name, the show title, and a call‑to‑action such as “Follow us on Instagram @YourStation”. This personal touch turns strangers into loyal fans.
Keep an eye on the real‑time listener count displayed in the dashboard. If you notice a sudden drop, check your encoder’s CPU usage and internet stability – a spike in packet loss can cause listeners to disconnect. Adjust the volume if you hear any distortion, and remember that a calm, steady voice keeps listeners tuned in longer.
With these real‑time practices, your first live hour will feel polished and professional, even if you’re broadcasting from a bedroom studio. This confidence is the cornerstone of any successful online radio setup.

Beyond the First Hour: Grow, Monetize, and Keep Streaming
Now that you’ve proven you can go live, think about scaling. LoovaCast lets you schedule recurring shows, assign co‑hosts, and invite guest DJs through a simple collaboration link. Set up a weekly “Guest Mix” slot, send the link to friends, and let them plug in their own audio source for a fresh perspective.
Monetization is easier than you might think. Enable the “Donations” toggle in your station settings and connect PayPal or Patreon. Listeners can click a “Donate” button that appears on the public page, turning casual fans into supporters. You can also sell ad spots by uploading pre‑recorded promos into your automation playlist.
Analytics are your growth engine. Review the weekly listener graph to spot peak hours, then adjust your playlist rotation to match those times. Look for geographic spikes – if you see a surge from a particular city, consider promoting a local event or partnering with a regional brand.
Consistent content, community interaction, and data‑driven tweaks will keep your online radio setup thriving month after month. Remember, a radio station is a living organism; feed it with fresh music, engaging shows, and listener feedback, and it will reward you with loyal audiences.
Ready to launch your station? Get started with LoovaCast — your radio, your way.