Planning Your Remote Broadcast: Gear, Power, and Connectivity
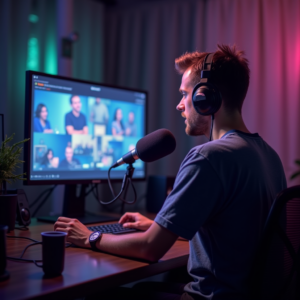
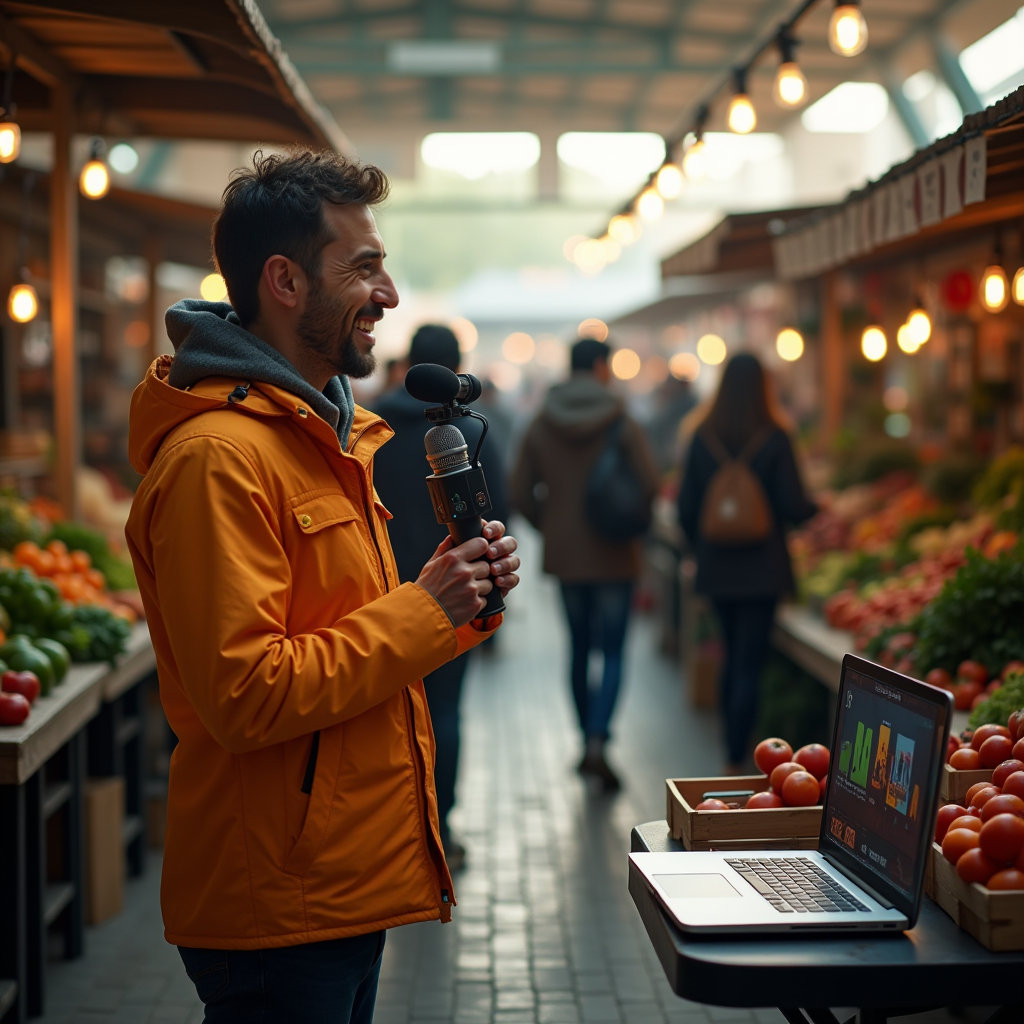
Before you even think about hitting the “Go Live” button, you need a solid plan that covers gear, power, and connectivity. Think of it as the three legs of a sturdy tripod – if one leg wobbles, the whole broadcast can tip over. Start by choosing portable, rugged equipment that can survive a day outdoors. A compact mixer with sturdy knobs, a dynamic microphone that resists wind, a lightweight laptop, and a battery‑powered encoder are the core pieces every community broadcaster should pack.
Next, map out how you’ll get online. Cellular hotspots are the most common choice for remote locations, but don’t ignore satellite links or a nearby café’s Wi‑Fi if the signal is strong enough. Run a quick speed test on your phone before you leave home – you’ll want at least 3 Mbps upload for a reliable online radio setup. If you’re in a spot with spotty coverage, consider a dual‑SIM router that can switch between carriers automatically.
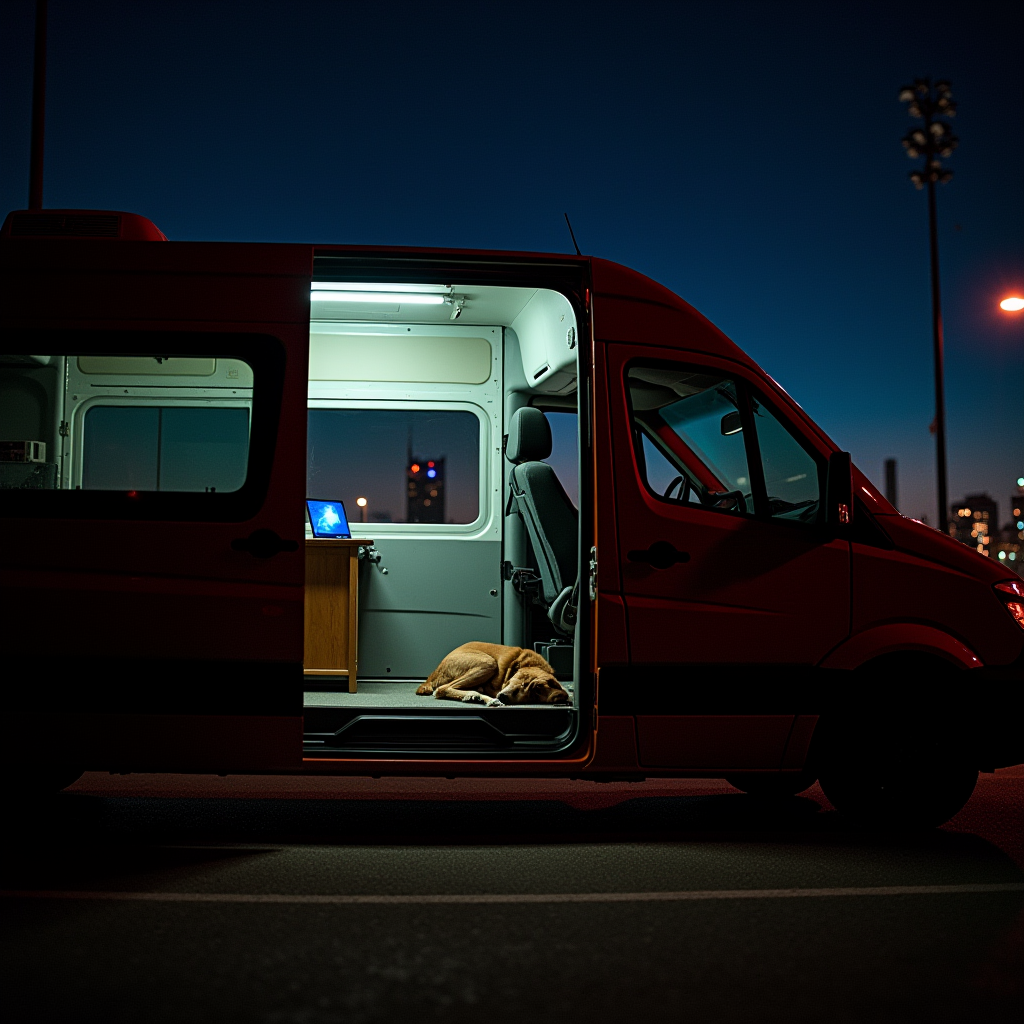
Power is the silent hero of any remote broadcast. Pack high‑capacity power banks, a portable solar panel, and spare batteries for every device. A good rule of thumb is to have at least 1.5 × the estimated usage time in backup power. That way, a sudden cloud cover won’t force you off the air.
- Internet reliability
- Transporting gear
- Power supply
- Maintaining audio quality
Share your answer in the comments!
Finally, create a simple checklist (you’ll see a full version in Section 7) and run a short “pack‑and‑go” drill. Walk through each item, test the encoder, and verify that your hotspot can stay connected for at least an hour. This rehearsal will expose any weak points before you head into the field, turning a potential disaster into a smooth, confident online radio setup experience.

Creating Your LoovaCast Account and Configuring the Stream
Now that your gear is ready, it’s time to set up the digital side of things. Signing up for LoovaCast is straightforward – just click “Create Account,” fill in your station name, and claim a unique URL that will become your on‑air address. This URL is the cornerstone of your online radio setup, so choose something memorable for your community.
Once you’re logged in, head to the “Stream Settings” page and add your stream key. This key is like a secret handshake between your encoder and LoovaCast’s servers; without it, no signal will pass through. Copy the key into your encoder’s configuration screen and you’re ready to test the link.
Next, customize your landing page. Upload a high‑resolution logo, write a brief station description, and pick a genre tag that matches your content. Enabling SSL (HTTPS) not only protects your listeners but also boosts trust when you share the link on social media. Don’t forget to fill out the metadata fields – station name, city, and a short tagline – because these details appear in directories and help new listeners discover you.
Before you go live, verify that the stream appears on your LoovaCast preview page. You should see a green “Live” indicator and a waveform that moves in real time. If the preview shows silence or buffering, double‑check your encoder’s bitrate and make sure the stream key matches exactly.
With your account configured, you now have a solid foundation for an online radio setup that can scale from a single‑person field report to a full‑blown community event. LoovaCast’s dashboard also offers real‑time analytics, so you’ll know exactly how many ears are tuned in at any moment.

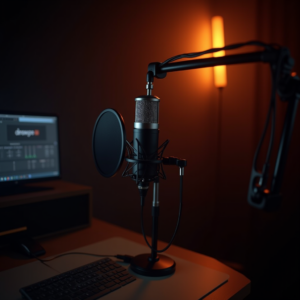
Choosing the Right Encoding Settings for Clear Audio
Audio quality can make or break a listener’s experience, especially when you’re broadcasting from a remote location where bandwidth fluctuates. LoovaCast recommends the AAC codec because it delivers high fidelity at lower bitrates compared to MP3. Aim for 128 kbps as a sweet spot – it sounds clear on most devices while staying friendly to cellular data caps.
Set the sample rate to 44.1 kHz; this matches the standard for most music and voice recordings, ensuring no unwanted pitch shifts. Enabling Variable Bitrate (VBR) lets the encoder automatically adjust the bitrate based on the complexity of the audio, which helps keep the stream smooth when your connection dips.
Latency is another hidden factor. While most listeners won’t notice a few seconds delay, a high latency can cause awkward timing when you interact with callers or live guests. LoovaCast’s preview tool includes a latency meter – aim for under 2 seconds for a responsive feel.
Before you leave the garage, run a short “test tone” recording and listen back on headphones. Check for any clipping, hiss, or background noise. Adjust the mixer’s gain so the loudest peaks stay below –6 dBFS. This headroom prevents distortion when a crowd cheers or a wind gust hits your mic.
Remember, the goal is a reliable online radio setup that sounds professional even when you’re miles from a studio. Once you lock in these settings, you can copy them to a preset on your encoder, saving time on future remote broadcasts.

Setting Up Radio Automation for Seamless Playback
Automation is the secret sauce that keeps your broadcast flowing when you need to step away for a break or when the live feed drops. LoovaCast’s built‑in automation library lets you upload pre‑recorded segments, jingles, and local ads. Organize them into folders named after content type – “News,” “Music,” “Community Notices” – so you can drag and drop with ease.
Next, create a playlist schedule. Use the “Smart Scheduler” to auto‑fill gaps with music from your community’s library. You can set rules like “play a local artist every 15 minutes” or “insert a public service announcement after every third song.” This not only keeps the stream lively but also reinforces your station’s mission.
Enable fallback streaming in the settings panel. When LoovaCast detects that your live encoder has stopped sending audio, it automatically switches to the automation playlist. Listeners will never hear dead air, and you’ll have time to troubleshoot without panic.
If you have volunteers, give them access to the automation interface with limited permissions. They can upload new content, update the schedule, or add emergency alerts. This collaborative approach spreads the workload and ensures the station stays fresh.
By integrating automation early in your online radio setup, you create a safety net that protects your audience’s experience and gives you confidence to experiment with live content, knowing the system will gracefully handle any hiccup.
Live Test, Go Live, and Real‑Time Troubleshooting
The moment of truth arrives when you press “Go Live.” But before you announce it to the world, run a quick 5‑minute test stream. This short window lets you verify audio levels, confirm that the encoder is sending data, and check the stability of your internet connection.
While the test runs, keep an eye on LoovaCast’s health dashboard. Look for spikes in bitrate, packet loss, or sudden latency jumps. If you see any red alerts, pause the test, adjust the encoder’s bitrate, or move to a stronger hotspot spot. A small adjustment now can prevent a major outage later.
Prepare a cheat sheet with the most common issues: audio drop (check mic power and cable connections), buffering (switch to a higher‑quality hotspot or lower bitrate), encoder reset (reboot the device and re‑enter the stream key). Keep this sheet printed or saved on your phone for quick reference.
If the live feed drops, LoovaCast will automatically switch to your automation playlist. Use this time to troubleshoot – often a simple reboot of the hotspot or a quick battery swap resolves the problem. Once you’re back online, announce “We’re back!” to reassure listeners.
After the broadcast, review the session log. Note any moments where the bitrate dipped below your target, and think about how you could improve the connection next time. This post‑mortem habit turns every remote show into a learning experience, sharpening your online radio setup skills.
Post‑Show Wrap‑Up: Archiving and Community Engagement
When the final sign‑off fades, the work isn’t over. First, export the recorded stream directly from LoovaCast. The platform offers a one‑click “Download MP3” button that saves the entire show to your computer. Store this file in a cloud backup (Google Drive, Dropbox, or an S3 bucket) to protect against hardware loss.
Turning the recording into on‑demand content expands your reach. Create a podcast episode by adding a short intro, episode title, and description. Upload it to popular directories like Apple Podcasts and Spotify, and embed the player on your station’s website. Listeners who missed the live broadcast can now enjoy it at their convenience.
Promote highlights on social media. Clip the most compelling 30‑second moments, add captions, and share them on Facebook, Instagram, or TikTok. Encourage your audience to comment on what they liked most, and consider running a quick survey (Google Forms works well) to gather feedback on topics, music selection, and overall experience.
Don’t forget to thank your volunteers and any guest speakers. A simple shout‑out on air or a personalized email keeps the community spirit alive and motivates future participation. By archiving and engaging, you turn a single remote broadcast into a lasting asset for your online radio setup portfolio.

Final Checklist: Your Remote Broadcast Ready‑to‑Go
Before you head out the door, run through this final checklist one more time. It’s designed to catch anything you might have missed during the hustle of packing and testing. Treat it like a pre‑flight routine – a quick glance, a deep breath, and you’re cleared for takeoff.
- ☑ Pack all equipment (mixer, mic, laptop, encoder).
- ☑ Charge batteries and test power backups.
- ☑ Verify internet connection speed.
- ☑ Enter stream key in LoovaCast.
- ☑ Run a 5‑minute test broadcast.
- ☑ Load automation playlist.
- ☑ Announce go‑live on social channels.
When each box is ticked, you’ll feel the confidence that comes from thorough preparation. Your online radio setup is now equipped to handle anything the field throws at it – from sudden rain showers to unexpected power outages. Remember, the key to a successful remote show isn’t just the technology; it’s the mindset of planning, testing, and adapting.
Now that you have the tools, the plan, and the confidence, it’s time to hit the road and bring your community’s voice to the world.
Ready to launch your station? Get started with LoovaCast — your radio, your way.