Define Your Station Concept
Before you even press “record,” you need a clear idea of who you’re speaking to. Are you curating indie‑rock for night‑owls, hosting deep‑dive tech talks, or giving a voice to a local community? Pinpointing your target audience lets you choose music, topics, and even the tone of your voice‑overs.
Write a one‑sentence mission statement that captures the soul of your station. Something like “We bring sunrise‑to‑sunset folk vibes to commuters in the Midwest” works as a compass when you’re deciding whether a new track fits the flow.
Branding is more than a name; it’s the visual hook that makes listeners remember you. Sketch a logo on a napkin, experiment with color palettes, and think of a tagline that sums up the experience in five words or less.
- Music‑only
- Talk shows
- Mixed (music + talk)
- Community news
Share your answer in the comments!
Having a solid concept makes the rest of the checklist feel less like a chore and more like building a dream you already own. When you finally hit “go live,” you’ll see the payoff of those early decisions.
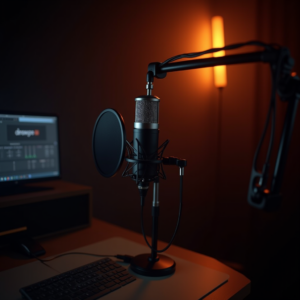
Core Hardware Essentials
Choosing the right mic is the first step to sound you can be proud of. A dynamic USB mic like the Audio‑Technica ATR2100x‑USB works great for voice‑only shows, while a condenser mic such as the Rode NT‑USB captures the nuance of live music performances.
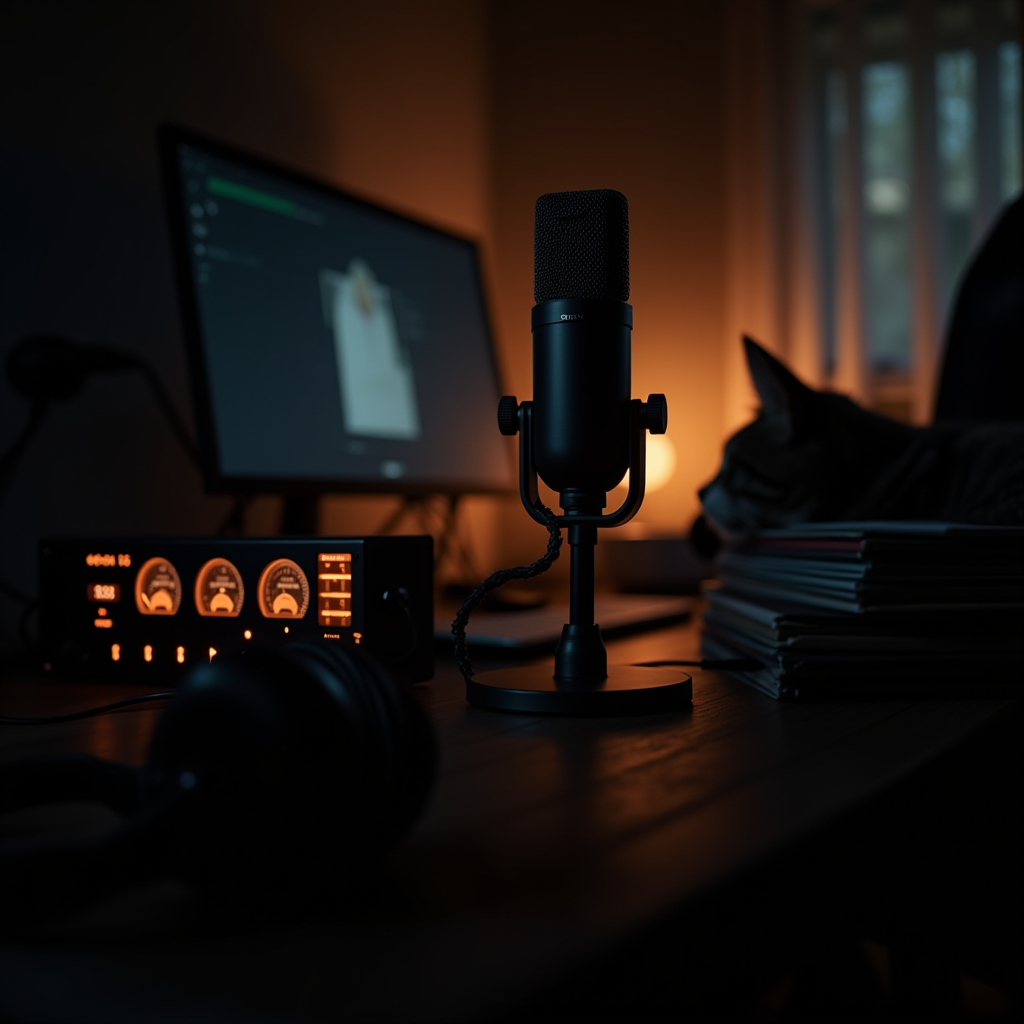
If you plan to mix multiple sources—guest calls, DJ decks, or sound effects—an audio interface or small mixer becomes your command center. Devices like the Focusrite Scarlett 2i2 give you clean preamps, while a compact mixer such as the Behringer Xenyx 1202 adds EQ knobs and built‑in effects.
Accurate monitoring is non‑negotiable. Closed‑back headphones with a flat response let you hear what your listeners will hear, preventing nasty surprises like hidden hiss or sudden volume spikes.
All of these pieces work together to create a reliable chain from voice to broadcast. When you’re ready to start online radio, you’ll thank yourself for not skimping on the basics.

Choosing the Right Broadcasting Software
Software is the bridge between your hardware and LoovaCast’s streaming servers. If you’re on a budget, free tools like Mixxx and Butt (Broadcast Using This Tool) give you solid live‑mixing capabilities and direct SHOUTcast/Icecast output.
For those who want more polish, paid DAWs such as Adobe Audition or Reaper add multi‑track recording, advanced effects, and automation. The key is that the program can output a stream in the format LoovaCast expects—usually an MP3 or AAC stream over the SHOUTcast or Icecast protocol.
Look for built‑in features that simplify daily life: an auto‑DJ function that fills dead air, cue points for quick song jumps, and a soundboard for jingles or ads. These tools keep your broadcast professional without demanding a full‑time engineer.
- ☑ Install broadcasting software
- ☑ Verify SHOUTcast/Icecast compatibility
- ☑ Test audio routing to LoovaCast
- ☑ Save a preset for quick live starts
Once the software is talking to LoovaCast, you’re only a click away from the first live episode. Remember, the smoother the setup, the more confidence you’ll have when you start online radio for the first time.
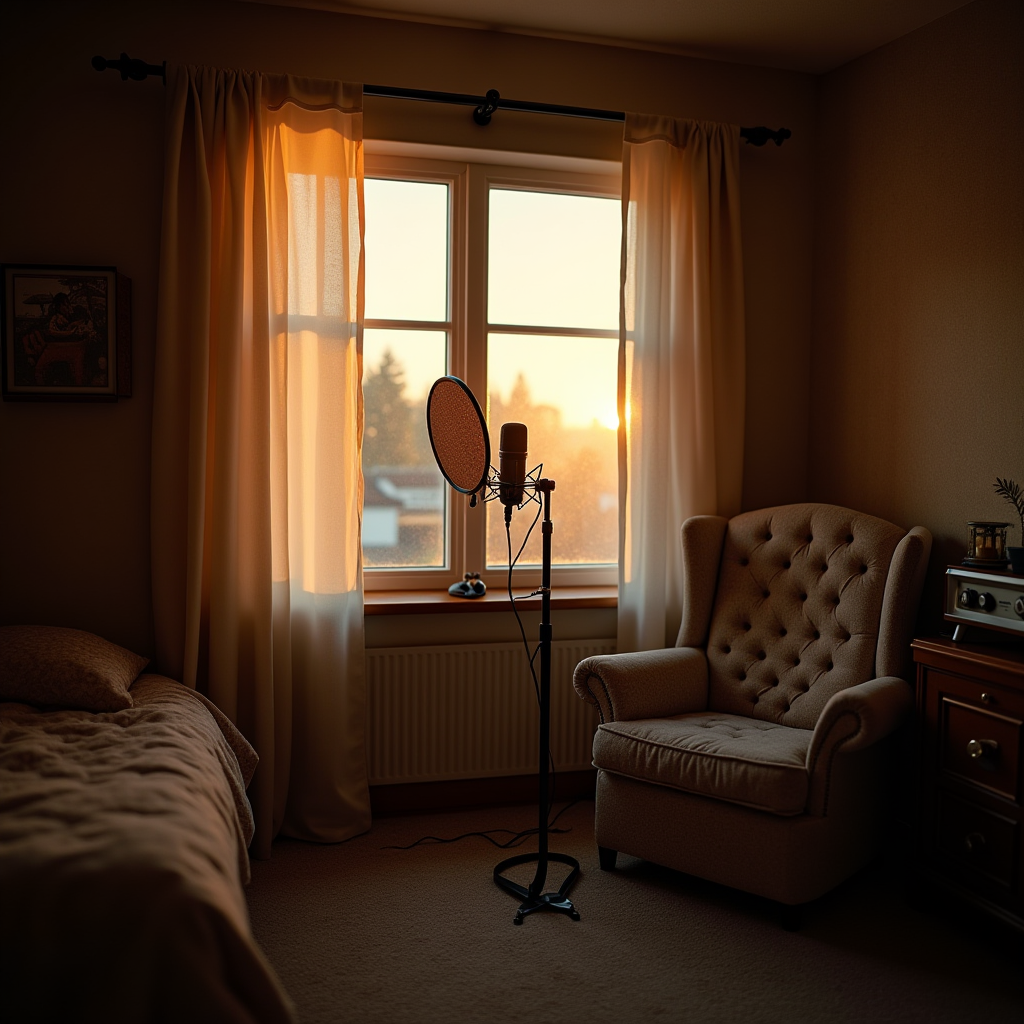
Setting Up Your Audio Environment
A quiet room is worth more than any expensive mic. Simple acoustic treatment—like placing foam panels or even heavy blankets on reflective surfaces—reduces echo and makes your voice sound tighter.
Position the microphone about six inches from your mouth, angled slightly off‑axis to avoid plosives. Keep computer fans, air conditioners, and external speakers at least a foot away, or use a directional mic to reject unwanted noise.
Establish a consistent gain structure before you go live. Start with the mic gain low, speak at your normal volume, and raise the gain until you see a healthy peak (‑12 dB to ‑6 dB) on your interface’s meter. This prevents clipping and keeps the signal clean.
When you walk into your studio each day, the room should feel like a familiar partner. A well‑treated space lets you focus on content instead of constantly adjusting levels, which is essential the moment you decide to start online radio.

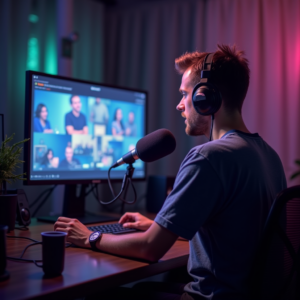
Connecting to LoovaCast & Going Live
The first technical hurdle is creating a LoovaCast account. After signing up, navigate to the “Stream Keys” section and generate a unique key—this is the password your broadcasting software will send to LoovaCast’s servers.
In your broadcasting software’s settings, paste the stream URL (e.g., rtmp://stream.loovacast.com:1935/live) and the key you just generated. Most programs have a “Test Connection” button; use it to verify that packets are reaching LoovaCast without error.
Do a short test broadcast of 2‑3 minutes. While you’re on air, open the LoovaCast dashboard to watch latency, bitrate, and listener count in real time. Adjust the bitrate if you notice buffering—generally 128 kbps works well for music, while 96 kbps is fine for talk‑only shows.
When everything looks green, you’re ready to click “Go Live.” Remember, the moment you start online radio, your audience can tune in from anywhere, so a smooth launch leaves a strong first impression.

Launch Checklist & Next Steps
Before the big day, run through this final pre‑flight checklist. Verify that every cable is plugged in, power supplies are stable, and your interface LEDs are glowing green.
Do a full audio sweep: speak into the mic, play a music track, and trigger any soundboard effects. Watch your levels—keep peaks under ‑3 dB to avoid distortion, and listen for background hum or hiss that might have slipped in.
Promote the launch on all your social channels. Create a teaser video, schedule posts for the day of the show, and consider a countdown story to build anticipation. Consistent promotion turns a one‑time broadcast into a recurring audience.
After your first episode, review the analytics on LoovaCast. Note which segments kept listeners longest, which songs sparked the most interaction, and adjust your upcoming schedule accordingly. The cycle of testing, learning, and iterating will keep your station growing.
Ready to launch your station? Get started with LoovaCast — your radio, your way.