Plan Your First Show
Before you even touch a microphone, the most important step to start online radio is to know what you want to broadcast. Think about the vibe you want to create: a chill‑beat evening lounge, a high‑energy morning drive, or a deep‑dive podcast‑style talk show. Write down the core theme, the music genres, and any recurring segments such as listener call‑ins or news briefs.
Next, map out the length of each episode. A 30‑minute slot works great for newcomers because it forces you to stay focused, while a two‑hour marathon can accommodate longer mixes or interviews. Sketch a simple schedule on paper or in a digital note‑taking app. Include placeholders for intros, transitions, ad reads, and a short “outro” that reminds listeners where to follow you.
Understanding licensing is another crucial piece of the puzzle. In most countries, you’ll need a blanket license from a performance rights organization (PRO) like ASCAP, BMI, or PRS if you plan to play copyrighted music. LoovaCast offers resources to help you navigate these requirements, but you should still double‑check that you have the right to stream the tracks you love.
Finally, think about your target audience. Are you aiming at college students, late‑night commuters, or a niche community of vinyl collectors? Knowing who you’re speaking to will shape your tone, your social‑media promotion, and even the time of day you decide to go live. This solid foundation will make the rest of your journey to start online radio feel like a natural progression rather than a scramble.
Gather and Test Your Gear
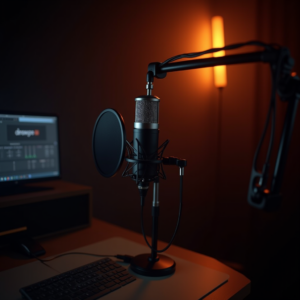
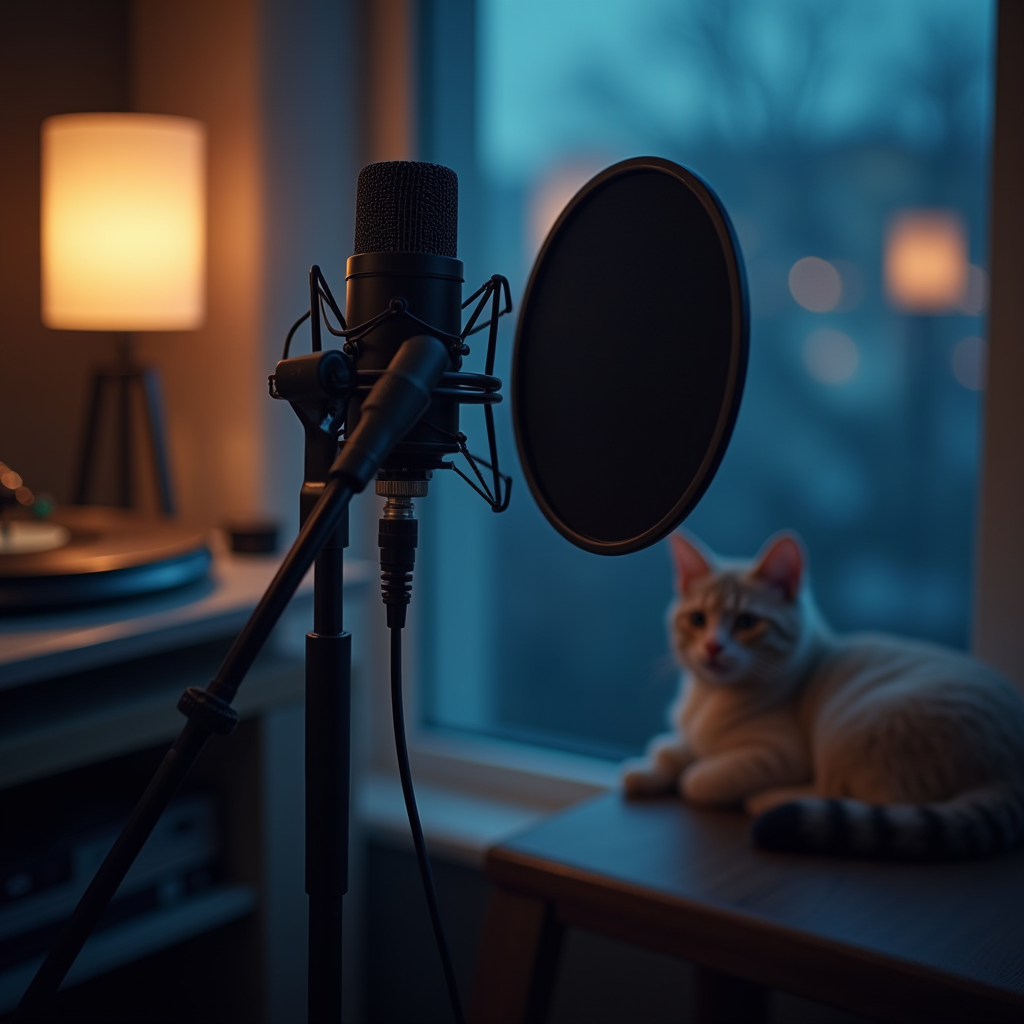
Choosing the right hardware can mean the difference between a professional‑sounding broadcast and a muffled mess. For anyone looking to start online radio, a quality condenser microphone paired with a pop filter is the cornerstone. The pop filter softens explosive plosives, keeping your voice crisp and listener‑friendly.
Connect your mic to an audio interface – a small USB box that converts analog signals to digital. This device also powers most condenser mics, so you won’t need a separate phantom power source. Plug your headphones into the same interface; closed‑back models are best because they prevent sound from leaking back into the mic.
Secure every cable with cable ties or Velcro straps. Loose connections are a common cause of intermittent audio dropouts, especially when you’re moving around your home studio. Once everything is plugged in, run a quick sound‑check: speak into the mic, watch the input levels on your interface, and listen for any hum or background noise.
Adjust the gain so your voice peaks around -6 dB on the meter – this leaves headroom for louder moments without clipping. If you hear a persistent 60 Hz hum, try swapping the power cable or using a ground loop isolator. A clean test now saves you from awkward on‑air glitches later.
- Microphone
- Audio Interface
- Headphones
- Computer
Share your answer in the comments!
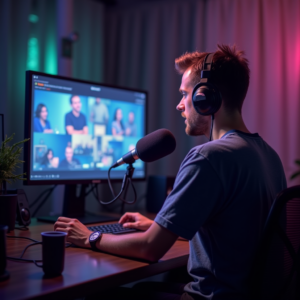
Configure Your Broadcast Software
Now that your physical setup is ready, it’s time to fire up the digital side and finally start online radio with LoovaCast. Log into the LoovaCast dashboard and click “Create New Station.” Fill in your station name, description, and upload a logo that captures your brand’s personality.
Next, set up the audio routing. In the LoovaCast interface, select your microphone as the input source and your audio interface as the output device. This ensures your voice travels straight from the mic to the server without any extra hops that could add latency.
Save these settings as a preset. LoovaCast allows you to export a configuration file that you can reload with a single click before each show. This eliminates the need to repeat the same clicks every time you go live, and it reduces the chance of human error on launch day.
Finally, test the preview stream. LoovaCast offers a private “listen‑only” link that you can open in a separate browser tab. Play a short clip, check the waveform, and make sure there’s no distortion. If everything looks and sounds good, you’re one step closer to start online radio with confidence.

Test Your Live Encoder Settings
The encoder is the bridge between your studio and the internet, so dialing in the right settings is essential when you start online radio. Begin by selecting a bitrate that matches your upload speed. A good rule of thumb is to aim for a bitrate that is no more than half of your available bandwidth; for example, if you have a 5 Mbps upload, a 128 kbps MP3 stream will be stable and sound great.
Choose a codec that balances quality and compatibility. MP3 is universally supported, while AAC offers slightly better quality at the same bitrate. LoovaCast supports both, so you can experiment to see which one sounds best with your voice and music mix.
Run a private test stream using the encoder’s “Start Test” function. Open the private URL on a separate device, listen for any buffering, and watch the waveform on LoovaCast. Adjust the encoder’s buffer size if you notice occasional drop‑outs; a larger buffer can smooth out network hiccups but adds a few seconds of latency.
Don’t forget to set up fallback options. LoovaCast lets you upload a pre‑recorded “fallback” audio file that will play automatically if your connection fails. This keeps your listeners engaged rather than staring at a dead stream, a small detail that separates hobbyists from polished broadcasters.

Do a Full Dry Run
A dry run is your chance to rehearse the entire show from start to finish, ensuring you can start online radio without surprise glitches. Begin by loading every audio element—intros, jingles, music tracks, and ad spots—into your playlist. Press “Play” and walk through each segment exactly as you plan to on the live day.
Record the rehearsal using LoovaCast’s built‑in recorder. After the run, listen back and note any timing gaps, awkward transitions, or volume inconsistencies. It’s common to discover that a particular song fades out too early or that a voice‑over needs a few extra seconds for emphasis.
Prepare a backup plan for inevitable hiccups. Keep a short, pre‑recorded filler (like a station ID or a quick interview clip) ready to drop in case your live mic fails or you need a moment to troubleshoot. Having a fallback track loaded in the encoder’s playlist means you can switch instantly without scrambling.
Finally, review your notes and adjust the schedule if any segment ran longer than expected. This iterative process sharpens your timing and builds confidence, so when you finally press “Go Live” you’ll feel prepared to start online radio with a polished, professional flow.
Launch Day: Final Checklist & Go Live
Launch day is the moment you’ve been working toward to start online radio, and a final double‑check can keep nerves at bay. Begin by confirming that every cable is still securely plugged in, that the mic gain is still set around -6 dB, and that your headphones are delivering a clean, uncolored monitor signal.
Open the LoovaCast dashboard and verify that your station profile is complete—logo, description, and social‑media links should all be visible. Check the encoder settings one more time: bitrate, codec, and buffer size should match the parameters you tested during the dry run.
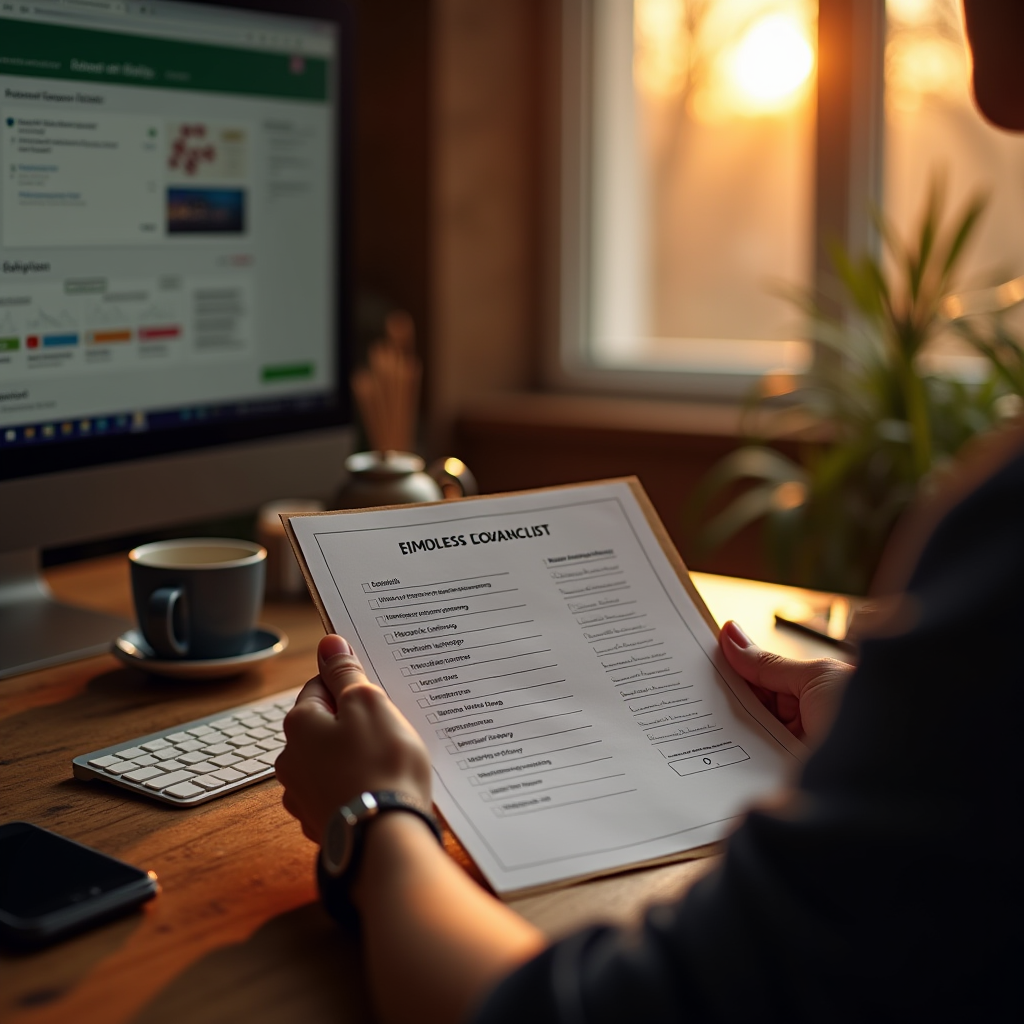
- ☑ Mic and headphones plugged in
- ☐ Audio interface levels set
- ☐ LoovaCast station profile complete
- ☐ Encoder bitrate tested
- ☐ Backup music playlist loaded
- ☐ Social media announcement scheduled
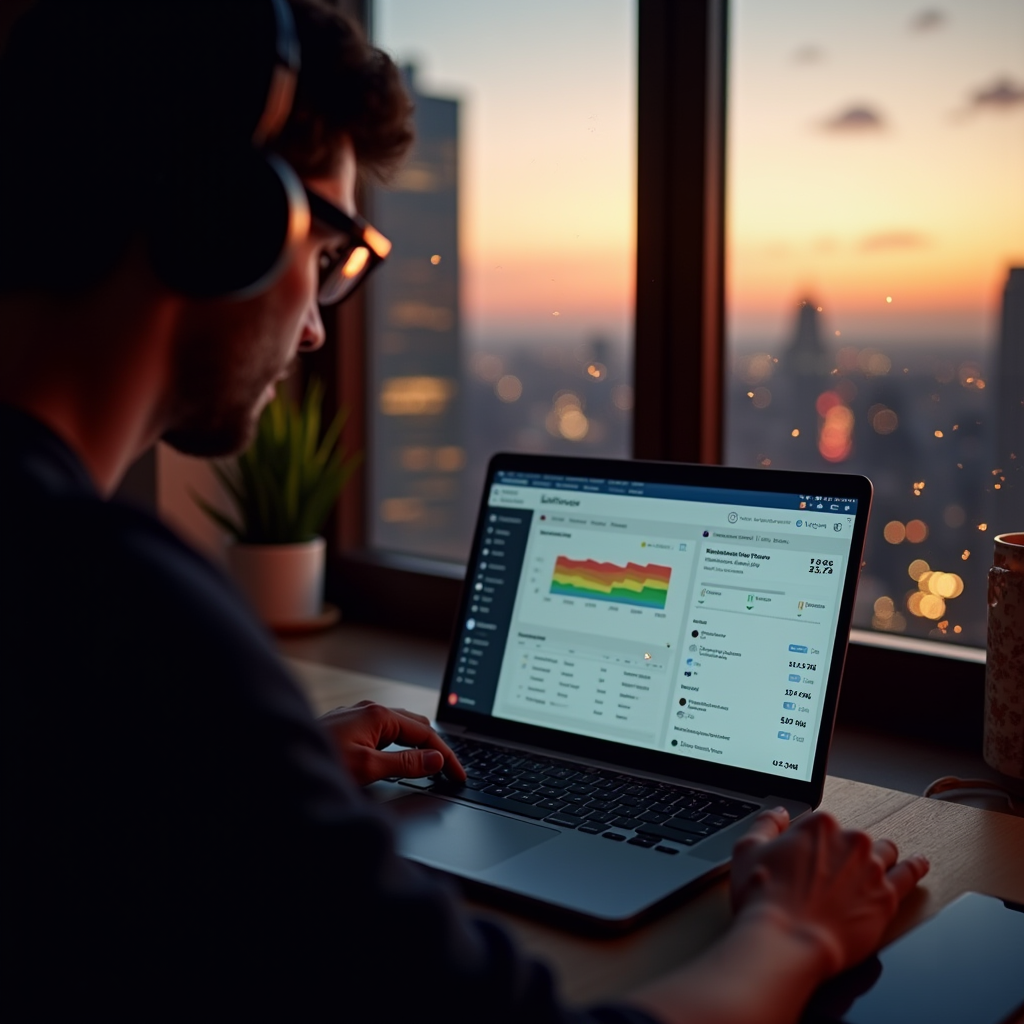
When you’re ready, hit the bright “Go Live” button on LoovaCast. Keep an eye on the stream health meter—LoovaCast provides real‑time stats on bitrate, listeners, and any dropped packets. If you notice a spike in latency, you can quickly adjust the encoder buffer without taking the stream offline.
Don’t forget to announce the launch on your social channels. A short teaser video or a countdown story can drive listeners to tune in right as you go live. Engage with your audience in the chat, thank them for joining, and read out a few names to build community. That personal touch turns a simple broadcast into a memorable experience, solidifying your decision to start online radio with LoovaCast.
Ready to launch your station? Get started with LoovaCast — your radio, your way.