Welcome to the Booth: Why Hardware Matters for Your First Broadcast
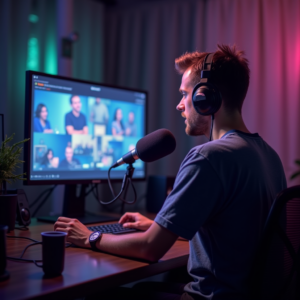
There is a specific, electric feeling that happens the moment you set up your first piece of real gear. It’s the psychological shift from being someone who “wants to start a podcast” to someone who is actually a broadcaster. When you feel the weight of a professional microphone in your hand or slide a fader on a mixer, your mindset changes. You stop thinking about the “idea” of a show and start thinking about the delivery of the content.
Now, let’s get one thing straight right away: you do not need a $10,000 studio to sound professional. We’ve seen thousands of creators start online radio from spare bedrooms, garages, and even closets. The “secret” to professional sound isn’t about spending the most money; it’s about choosing the right tools for your specific environment. High-end gear is great, but overkill for a beginner can actually lead to frustration and “analysis paralysis.”
You might wonder, “Can’t I just use my laptop mic or a gaming headset?” Technically, yes. But here is the insider truth: listener fatigue is real. When audio is thin, tinny, or filled with background hiss, the human brain has to work harder to process the words. After twenty minutes, your audience will subconsciously start to tune out, not because your content is boring, but because their ears are tired.
Investing in basic, quality hardware removes those barriers. It allows your voice to sound rich and natural, ensuring that your personality and message take center stage. By focusing on a few key pieces of equipment, you create a reliable foundation that lets you focus on the creative side of broadcasting without worrying if your audio is clipping or sounding like you’re underwater.

Microphone Basics: Finding Your Voice
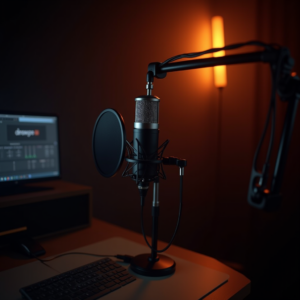
Choosing your first microphone is where most people get stuck. The first thing you need to understand is the difference between Dynamic and Condenser microphones. If you are broadcasting from a home environment—where you might have a humming refrigerator, a noisy AC, or a neighbor mowing their lawn—a Dynamic microphone is your best friend. They are less sensitive to distant sounds and focus primarily on what is directly in front of them.
Condenser microphones, on the other hand, are incredibly sensitive. They capture the “air” and detail in a room, which is why they are beloved in professional soundproof studios. However, in a bedroom, a condenser mic will pick up the sound of your computer fan and the echo bouncing off your bare walls. Unless you have a treated space, we usually recommend starting with a Dynamic mic to keep your signal clean.
Then there is the debate of USB vs. XLR. A USB microphone is “plug-and-play.” You plug it into your laptop, and you’re live. It’s a fantastic way to start online radio if you want the lowest possible barrier to entry. However, XLR is the professional standard. An XLR mic requires an interface or mixer to connect to your computer, but it offers much better sound quality and allows you to upgrade your gear piece by piece as you grow.
If you’re looking for recommendations, here are three paths: For the “budget powerhouse,” look at the Audio-Technica AT2020 (Condenser) if your room is quiet. For the “industry standard” feel, the Shure SM58 (Dynamic) is virtually indestructible and sounds great on almost every voice. For the “convenience king,” the Blue Yeti (USB) provides a versatile start without needing extra boxes on your desk.
- A) Quiet dedicated room
- B) Living room with some echo
- C) Bedroom with blankets for soundproofing
- D) I’m still figuring it out!
Share your answer in the comments!
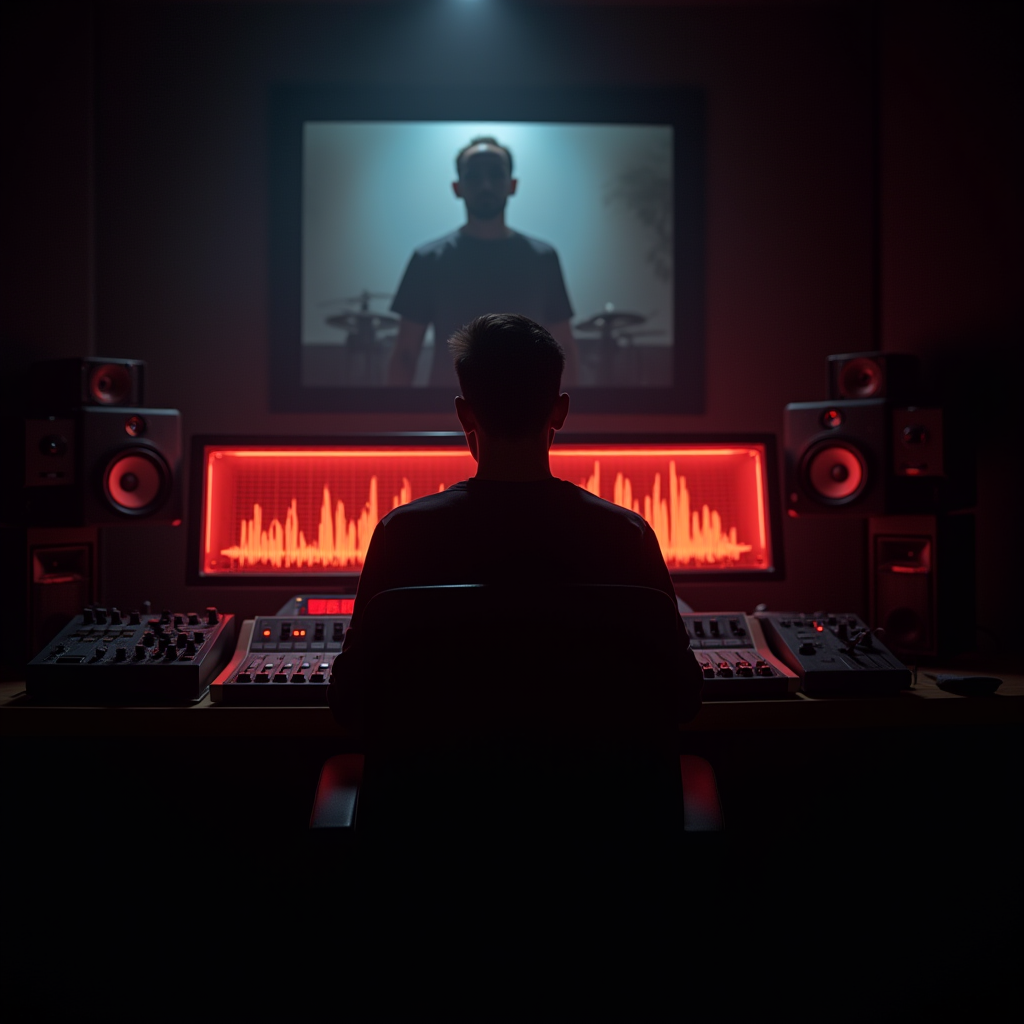
The Mixer: Your Command Center for Sound
Think of the mixer as the “brain” of your operation. While you can plug a mic directly into a computer, a mixer gives you tactile control. Instead of clicking through menus in a software program while you’re mid-sentence, you can simply slide a fader up or down to adjust your volume in real-time. This physical control is what gives you the confidence to handle live broadcasts smoothly.
At its core, a mixer balances multiple audio inputs. If you have a voice mic, a guest mic, and a music source (like a tablet or a separate computer), the mixer blends them into one clean signal that goes to LoovaCast. When shopping, look for Gain knobs (which control how much signal enters the mixer) and Faders (which control the volume of that signal in the final mix).
One critical feature you’ll see is Phantom Power (+48V). This is a switch that sends electricity back up the cable to power condenser microphones. If you have a dynamic mic, you don’t need it; if you have a condenser, you can’t record without it. It’s a simple toggle, but it’s the number one reason beginners think their “mic is broken” when it’s actually just powered off.
We always suggest the “Keep It Simple” approach. You don’t need a 24-channel board used for recording rock bands. A small 4-channel mixer is more than enough for 95% of online radio beginners. It gives you a channel for yourself, a channel for a guest, and a couple of stereo channels for music or sound effects, all without taking up your entire desk.

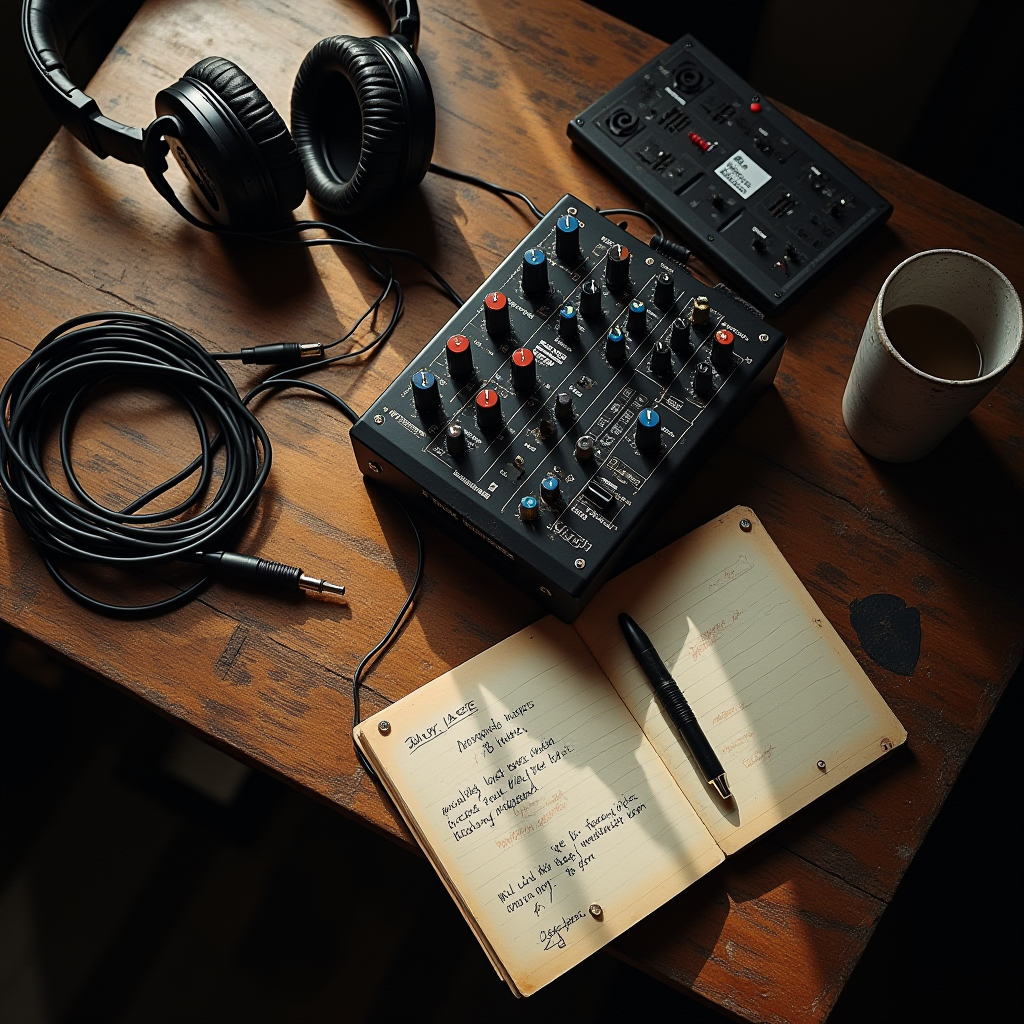
Connecting the Dots: The Essential Accessories
The microphone and mixer are the stars, but the accessories are the supporting cast that prevents your show from sounding amateur. First, let’s talk about pop filters and windscreens. Have you ever heard a “P” or “B” sound cause a loud, distorted thumping noise in a recording? That’s called a plosive. A simple mesh pop filter placed between your mouth and the mic stops those bursts of air from hitting the diaphragm, saving your listeners’ ears from unpleasant pops.
Next, consider how you’ll hold your mic. A desk stand is fine for a start, but boom arms are a game-changer for ergonomics. When you’re broadcasting for two or three hours, leaning over a desk leads to back pain and a “slumping” voice. A boom arm allows you to bring the mic to your mouth, keeping your posture upright and your airway open, which naturally improves the tone and power of your voice.
Finally, you cannot broadcast effectively without closed-back headphones. Open-back headphones are great for listening to music in a room, but for radio, you need a seal. Closed-back headphones prevent the audio from “leaking” out of the earcups and being picked up by your microphone, which creates a nasty feedback loop. More importantly, they allow you to hear exactly what your audience hears in real-time, so you can catch a humming cable or a low volume level before it becomes a problem.
Don’t forget the cables. If you’re using XLR, buy cables that are slightly longer than you think you need. There is nothing worse than being tethered to your mixer by a cable that’s too short, forcing you to sit in an uncomfortable position. A few high-quality, shielded cables will prevent the “electrical hum” that often plagues cheap, unbranded wiring.

Setting Up Your Signal Chain
Now that you have the gear, it’s time to connect the dots. The “signal chain” is simply the path your voice takes from your mouth to your listener’s ear. For a professional setup, the flow looks like this: Microphone → XLR Cable → Mixer → USB Cable → Computer → LoovaCast. Following this chain ensures that your audio is processed and balanced before it ever hits the digital world.
Once everything is plugged in, you need to find the “Goldilocks” zone of volume. If your levels are too low, your listeners will have to crank their volume, making the background hiss audible. If they are too high, your audio will “clip,” resulting in a harsh, digital distortion that is impossible to fix. Aim for your levels to peak around -6dB to -12dB on your software meters. This gives you plenty of “headroom” for those moments when you get excited and raise your voice.
If you encounter humming or static, don’t panic. Most first-time glitches are caused by “ground loops” or interference. Try moving your mixer away from your computer’s power brick or avoid running your audio cables parallel to power strips. If you hear a high-pitched hiss, check if your Phantom Power is on when it doesn’t need to be, or try a different USB port on your computer.
- ☑ Mic plugged in and secure?
- ☐ Headphones tested and audible?
- ☐ Mixer power on and Gain set?
- ☐ Levels peaking in the -6dB to -12dB range?
- ☐ LoovaCast dashboard active and connected?
Budgeting for Growth: When to Upgrade
The biggest mistake beginners make is trying to buy the “perfect” setup on day one. We advocate for the “Good Enough” principle. Your gear should be good enough that it doesn’t distract the listener, but you shouldn’t let the pursuit of perfection stop you from actually launching your show. The most important part of your broadcast is your voice and your content, not the brand of your preamp.
As you grow, you’ll start to identify your “bottleneck.” A bottleneck is the one piece of equipment that is actively limiting your quality. If your voice sounds great but you hear a lot of room echo, the bottleneck isn’t your mic—it’s your room. In that case, spending $200 on a new microphone won’t help; spending $50 on some acoustic foam or heavy curtains will.
When you feel you’ve truly outgrown your starter gear, plan your next move strategically. If you’re starting to have more guests, move to a multi-channel audio interface with individual XLR inputs for everyone. If you want a “radio” sound with more warmth, look into a professional preamp or a high-end large-diaphragm condenser mic. The beauty of starting with a modular XLR setup is that you can replace one piece at a time without having to buy a whole new system.
Remember, every legendary broadcaster started with a basic setup. The goal is to start online radio with a sound that is clean and professional, then let your equipment evolve alongside your skills. The more you broadcast, the more you’ll learn exactly what you need and what is just “fancy” gear that doesn’t actually improve the listener’s experience.
Ready to launch your station? Get started with LoovaCast — your radio, your way.