Section 1: Define Your Broadcast Goals & Audience
Before you even plug in a microphone, take a moment to write down why you want to start online radio. Are you aiming to give a voice to local artists, provide a platform for civic discussion, or simply share the music that moves your neighborhood? A clear mission becomes the north‑star that guides every technical and creative decision you’ll make.
Next, paint a picture of your ideal listener. Think about age, location, daily routine, and favorite genres. A teenager who streams playlists on a phone will need a different vibe than a retiree who tunes in on a desktop during breakfast. Knowing these habits helps you choose the right streaming bitrate, schedule, and even the tone of your on‑air personality.
Finally, set measurable launch goals. Instead of “reach many people,” aim for “air 20 hours per week and attract 150 unique listeners in the first month.” Quantifiable targets let you track progress and celebrate milestones, keeping the excitement alive as you start online radio and grow.
- Share local news
- Promote local music
- Educate & discuss topics
- Other
Share your answer in the comments!
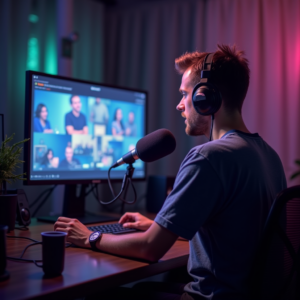
Section 2: Essential Hardware for Your First Show
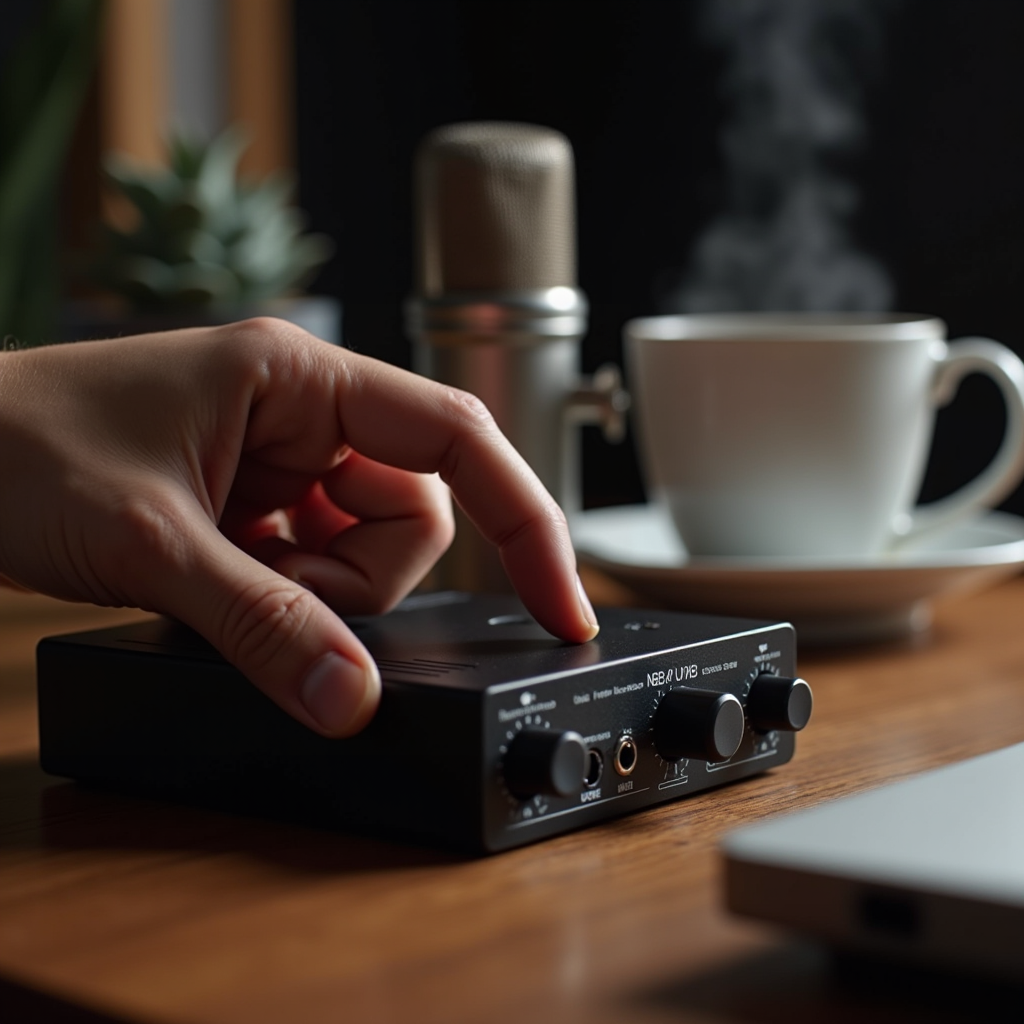
The backbone of any broadcast is reliable hardware. For a beginner who wants to start online radio, a 2‑channel USB audio interface is often enough. Models like the Focusrite Scarlett 2i2 give you clean preamps, phantom power, and direct monitoring, all in a compact package that fits on a kitchen table.
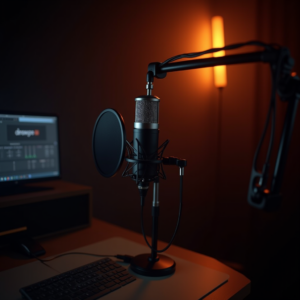
Microphone choice matters just as much as the interface. Dynamic mics such as the Shure SM58 are forgiving on untreated rooms and perfect for spoken‑word shows. If you plan to record music or vocal performances, a small‑diaphragm condenser like the Audio‑Technica AT2020 will capture detail—just remember to use a pop filter and keep the gain modest to avoid clipping.
Headphones and near‑field monitors close the monitoring loop. Closed‑back headphones (e.g., Audio‑Technica ATH‑M50x) let you hear every nuance without bleed, while a pair of studio monitors give you an accurate picture of how the broadcast will sound on listeners’ speakers. Investing in these basics now saves you headaches later when you start online radio and aim for professional‑grade sound.

Section 3: Choosing the Right Software & Hosting Platform
Software is the cockpit where you steer your signal. There are three popular options for those who want to start online radio: LoovaCast, Radio.co, and Airtime Pro. LoovaCast shines for community stations because it blends an intuitive drag‑and‑drop playlist builder with powerful automation features—perfect for a mix of live shows and pre‑recorded content.
When you set up your encoder, pick a bitrate that matches your audience’s bandwidth. 128 kbps MP3 works well for music‑heavy stations, while 64 kbps AAC is a sweet spot for talk‑centric shows and listeners on slower connections. Most hosts, including LoovaCast, let you toggle between these formats with a single click.
Connecting the dots is simple: paste your API key from the hosting dashboard into the LoovaCast settings, hit “Test Connection,” and you’ll hear a green confirmation. A stable link ensures that when you press “Go Live,” the stream flows smoothly to every device listening.
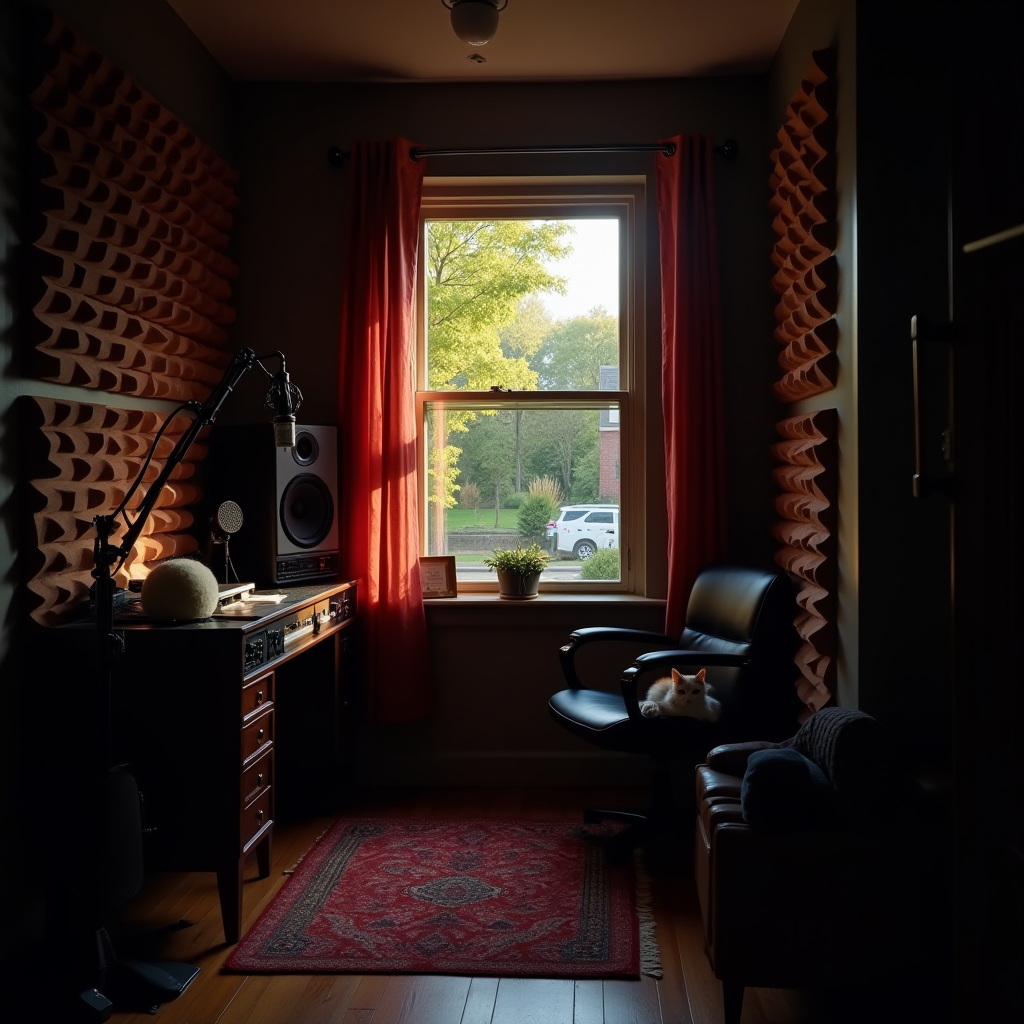
Section 4: Setting Up Your Studio Space & Signal Flow
Even a modest bedroom can become a broadcast‑ready studio with a few acoustic tweaks. Start with foam panels or even thick blankets on the walls behind your mic to tame reflections. A rug under the desk and heavy curtains over windows absorb low‑frequency rumble, making your voice sound tighter and more professional.
Cable management is more than aesthetics; it prevents accidental unplugging during a live show. Use Velcro ties, label each end with a marker, and route all power cords through a surge‑protected strip. This small habit becomes a lifesaver when you’re in the middle of a critical segment and need to troubleshoot quickly.
Finally, map the signal chain on a whiteboard: microphone → audio interface → broadcasting software → encoder → streaming host. Seeing the flow visually helps you spot bottlenecks—like a missing phantom power switch—or confirm that the right output (usually “Stereo Mix”) is feeding the encoder.
Section 5: Pre‑Show Checklist: Test, Schedule, and Backup
Before you officially start online radio, run a full rehearsal. Record a 15‑minute test broadcast and listen on a phone, laptop, and tablet to catch any latency or volume issues. This multi‑device check mimics real‑world listening conditions and reveals problems you might otherwise miss.
Double‑check your playlists, automated station IDs, and any pre‑recorded interviews. Make sure each file is correctly encoded and placed in the right folder so the automation engine can pull it without hiccups. Also, set up a backup recording path—either a local hard drive or cloud storage—so you never lose a live hour to a sudden crash.
Print a one‑page checklist and keep a red pen handy. During the live show, you can quickly mark off completed tasks and jot down notes for future improvements. The discipline of a written checklist turns a nervous first broadcast into a smooth, confidence‑boosting experience.
- ☑ Verify microphone gain levels
- ☐ Test internet upload speed (≥5 Mbps)
- ☐ Load first hour of programming
- ☐ Set up auto‑restart for encoder
- ☐ Backup recording path active

Section 6: On‑Air Confidence: Presentation Tips & Live Practice
Scripts are your safety net. Write short, conversational intros, segues, and sign‑offs, then practice them aloud until they feel natural. Remember, listeners can sense a rehearsed monologue—keep the language relaxed and sprinkle in a personal anecdote to stay authentic.
Warm up your voice with simple breathing exercises: inhale for four counts, hold for two, exhale for six. Hydration is equally important; keep a water bottle within reach and sip regularly to avoid a dry throat. A quick sip between segments also gives you a natural pause to collect thoughts.
Use a “talk‑down” cue—a subtle hand signal or a small visual timer—to keep yourself on schedule. When the cue appears, you know it’s time to wrap up the current topic and transition. This habit builds discipline and prevents overruns, a crucial skill when you start online radio and have a tight programming grid.

Section 7: Launch Day: Final Walkthrough & Celebrate
Thirty minutes before go‑live, perform a final equipment sweep. Check that all cables are securely plugged, the power strip is on, and the internet speed test still reads above 5 Mbps. A quick visual of the signal chain on your whiteboard can reassure you that every link is intact.
Kick off with a launch promo that grabs attention—a local giveaway, a shout‑out to a community hero, or a short interview with a neighborhood artist. These moments create buzz and give listeners a reason to tune in right at the start.
After the first hour, gather your team (or yourself, if you’re solo) and review the stats: concurrent listeners, peak minutes, and any drop‑outs. Celebrate the achievement with confetti, a toast, or a simple “We did it!” moment. This positive reinforcement fuels the momentum you’ll need for the weeks ahead as you continue to start online radio and grow your community.
Ready to launch your station? Get started with LoovaCast — your radio, your way.